P8 — 3D Modeling & Fabrication · Internship

Incept
3D

A hands-on immersion in the full fabrication pipeline — from digital CAD model to physical object — working alongside a commercial 3D printing studio on real client orders and learning the uncompromising language of precision manufacturing.

CompanyIncept 3D
TypeInternship — 3D Modeling & Product Fabrication
Skills GainedCAD Modeling · Print Setup · Material Selection · Fabrication Constraints · Client Production
The Experience

Where Digital
Becomes Physical

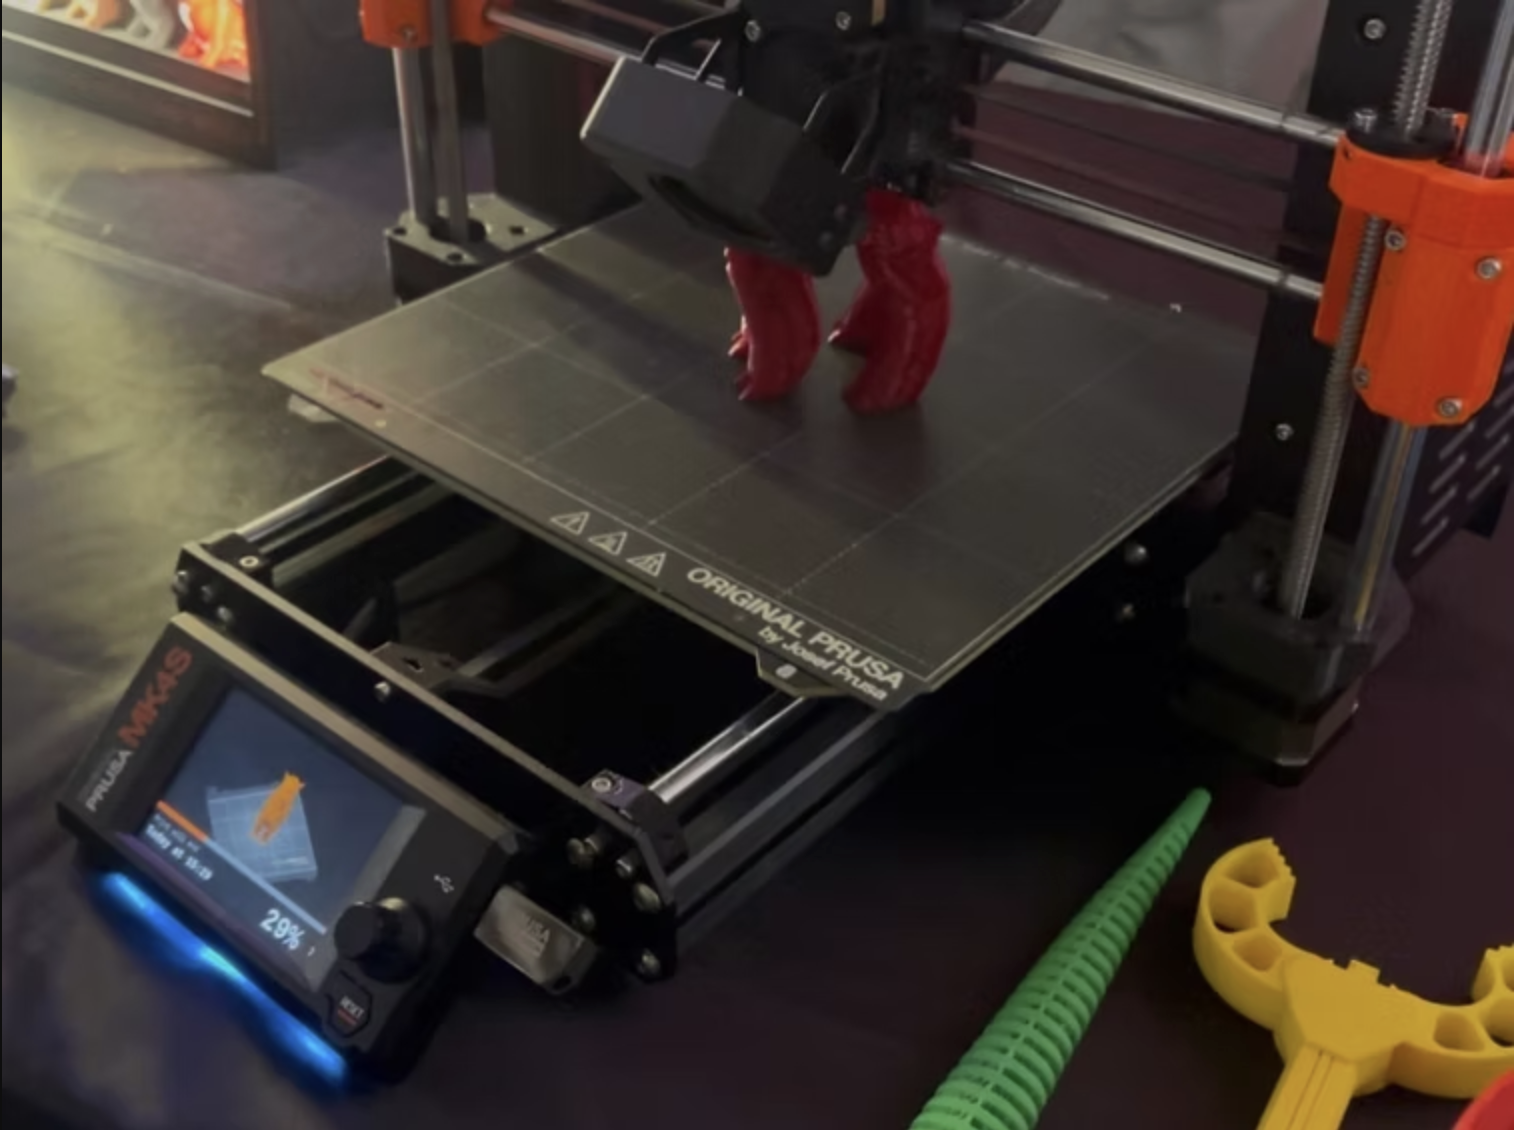
The internship at Incept 3D placed me inside a working commercial 3D printing studio — a production environment where the tolerance for error is zero and the client expects the object they specified, not an approximation of it.

The work spanned the full fabrication cycle: receiving client briefs, building or modifying CAD files, preparing print jobs (slicing, supports, bed adhesion), running the printers, post-processing finished parts, and reviewing output against quality specs before delivery.

Working on a custom glasses-related client project gave me direct experience with the precision standards required in eyewear fabrication — where millimeter tolerances affect how a product feels on a face.

Prusa MK4S 3D printer at Incept 3D
Fabrication Pipeline

Concept to Object: Every Step Counts

1

Client Brief & CAD Review

Receive client specifications, review existing CAD files for printability, identify issues with geometry, wall thickness, overhangs, or feature resolution that will affect output quality.

2

File Preparation & Slicing

Import into slicer software (PrusaSlicer), configure layer height, infill density, support structures, and bed adhesion based on material, geometry, and tolerance requirements.

3

Material Selection

Match material properties (PLA, PETG, ASA, TPU) to client requirements: structural strength, flexibility, UV resistance, surface finish, and color accuracy all factor into the choice.

4

Print Run & Monitoring

Set up and monitor the Prusa MK4S during production runs. Identify and address layer adhesion issues, stringing, or warping in real time before they compromise the entire print.

5

Post-Processing & Quality Review

Remove supports, sand surfaces to specification, verify dimensional accuracy against client drawings, and document any deviations before client delivery.

Skills Developed

What the Machine Teaches

Technical

CAD Proficiency

Gained working fluency in 3D modeling tools for part creation, modification, and repair — including identifying and fixing mesh errors that would cause print failures.

Process

Print Setup Mastery

Learned to read a geometry and anticipate its failure modes before printing — making better decisions about support placement, orientation, and layer strategy.

Materials

Material Literacy

Built an understanding of how different filament materials behave under the same print conditions — and how to select for client requirements beyond just color.

Production

Client Standard Rigor

Internalized what "production quality" actually means when a client will hold the object in their hands — the discipline of iteration and measurement over aesthetic instinct.

Design Thinking

Fabrication-Aware Design

Developed the ability to evaluate a design not just for how it looks on screen but for whether it can be reliably manufactured at the tolerances required — a critical lens for product work.

Problem Solving

Real-Time Troubleshooting

Learned to diagnose print failures mid-run — reading layer artifacts, adhesion failures, and extrusion inconsistencies as diagnostic data rather than frustrating setbacks.

Making something physical is humbling. The machine has no tolerance for approximation.

The Incept 3D internship gave me something that screen-based design education rarely offers: the reckoning of holding a failed print and understanding exactly why it failed. That physical feedback loop — the discipline of iteration against real-world constraints — changed how I think about every design, digital or otherwise.